
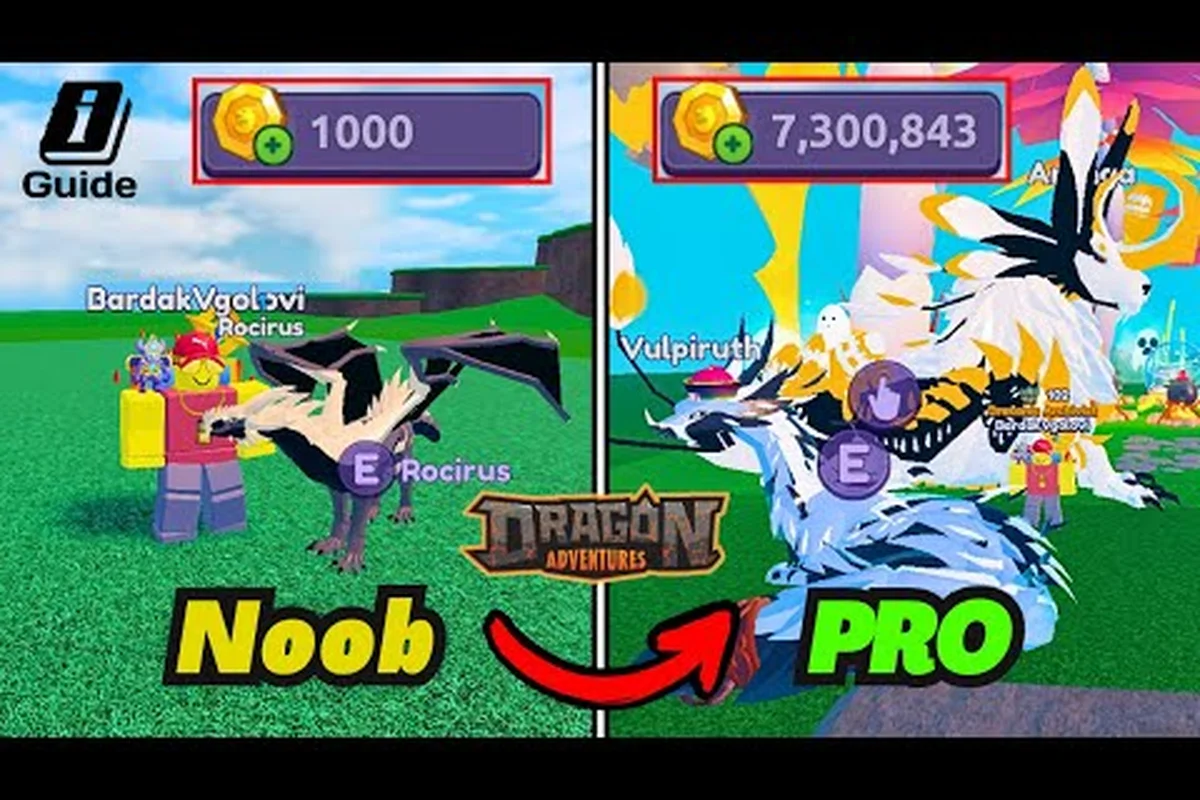
Stepping into Dragon Adventures for the first time can feel overwhelming because the Roblox RPG drops you into a fully stocked world with over 200 dragon species, four growth stages, and a hunger meter that quietly runs in the background. This Dragon Adventures beginner guide cuts straight to the systems that matter in your first hour, so you can hatch smart, keep hunger above 50%, and start stacking coins before your starter dragon outgrows its baby phase. The fastest path is simple: learn the basic controls, claim a beginner-friendly mount, feed on a steady loop, and spend your first coins on growth speed rather than cosmetics.
Understanding the Core Loop and Beginner Controls
The core loop in Dragon Adventures is straightforward: ride, explore, collect eggs, hatch them, feed the babies, and repeat. According to the Dragon Adventures on Roblox page, players explore sprawling worlds, hatch eggs, raise dragons from birth through four growth stages, and design their own lair, which is the entire endgame cycle condensed into a single sentence. New players exit the tutorial with one adult dragon and one baby dragon, and from that point the game quietly tests three habits: staying mounted, keeping hunger topped up, and rotating between egg farming routes.
Basic Movement and Key Bindings
Movement uses standard Roblox WASD, with Shift for sprint and Space for jump, but the dragon-specific bindings matter more early on. Hold F to mount or dismount, press E near a dragon to open the interaction wheel, and use the mouse scroll wheel to switch between equipped dragons without opening the menu. The dragon lair screen (default key B) is where you feed, equip, and track growth, and learning the E-key shortcut in the open world is the single biggest time saver because it skips the menu animation when hunger dips below 50%.
Growth Stages and the Hunger Mechanic
Every dragon moves through four growth stages: Baby, Juvenile, Adult, and Ancient. Hunger drops passively while mounted and while standing still, and as Game Rant notes, keeping hunger above 50% is critical because levels below 50 can halt growth outright. Equipping multiple dragons to the same lair also accelerates growth for the active dragon, which is why most veteran players run a small "feeder" team even on day one.
| Stage | Approx. Duration | Key Action | Notes |
|---|---|---|---|
| Baby | 30-60 minutes | Feed every 5-10 min | Easiest to bond; fastest growth |
| Juvenile | 1-3 hours | Feed every 10-15 min | Unlock secondary abilities |
| Adult | 3-6 hours | Feed every 15-20 min | Best for farming routes |
| Ancient | 6+ hours | Feed every 20-30 min | Cosmetic peak; rare breeds |
Starter Dragons and the Best First Egg Choices
The very first decision a new player makes is which egg to grab from the starter pool, and that choice echoes for the rest of the playthrough. Beginners should prioritize dragons that are cheap to feed, common enough to replace if lost, and useful across multiple farming routes. Avoid shiny or event-locked eggs early because their food cost is higher and their resale value collapses the moment the event ends.
Beginner-Friendly Starter Picks
Three dragons consistently top community "first dragon" lists because they cover different needs. A balanced land dragon is reliable for coin routes, a fast sprinter saves travel time between biomes, and a sturdy tank survives the occasional player-versus-environment encounter. Most players who want to experiment grab one of each within the first day, which costs a small amount of coins but saves hours of regret later.
| Starter Archetype | Best For | Weakness | Replacement Cost |
|---|---|---|---|
| Balanced (e.g. Earth-type) | Coin routes, exploration | Mid-tier speed | Low |
| Sprinter (e.g. Wind-type) | Fast travel, egg hunting | Low health pool | Medium |
| Tank (e.g. Stone-type) | PvE, defending lair | Slow growth | Low |
Eggs, Biomes, and Respawn Timers
Eggs spawn in fixed biomes on rotating timers, and learning two or three nearby biomes is worth more than memorizing the entire map. Origins Island, Glasslands, and Undercity are three early-unlock regions where common eggs respawn within 5-10 minutes, which is fast enough to chain a full farming loop on a single play session. If you want a deeper breakdown of egg farming routes and how to hatch rarer breeds, the Sun Gold and egg farming guide walks through the same loops with more biome detail.
How to Get Coins and Gold in Your First Week
Coins and gold are the two soft currencies that gate almost every meaningful upgrade, and they come from completely different sources. Coins drop from passive activities like riding, completing exploration milestones, and selling common eggs, while gold is the rarer currency tied to events, special deliveries, and high-tier trades. Conflating the two is the most common beginner mistake, because spending gold on coin-tier items burns hours of farming in a single click.
Coin Routes for Day-One Players
The fastest coin route in the first hour is a simple loop: mount your adult dragon, sprint between two nearby biomes, grab every egg you see, sell the common ones at any vendor, and feed the rare ones to keep growth moving. Riders also earn a small passive coin trickle while mounted, which is why staying on your dragon between stops is more efficient than dismounting to walk. A 20-minute loop of two biomes typically yields 500-1,200 coins for a brand-new account, depending on egg luck and event bonuses.
| Activity | Avg. Coins/Hour | Hunger Cost | Skill Required |
|---|---|---|---|
| Egg farming loop | 1,500-3,000 | Medium | Low |
| Exploration milestones | 800-1,500 | Low | Low |
| Selling common dragons | 500-1,200 | None | Low |
| Daily login + codes | 300-800 | None | None |
Gold Sources and Event Tracking
Gold does not come from the same activities as coins, which surprises most players on day one. The reliable gold sources are limited-time events, high-tier trades on the player market, and a small trickle from completing long exploration chains. According to community reports on the r/DragonAdventures subreddit, values fluctuate sharply around each event because rare drops enter the market in waves, so timing your trades around event launches is the difference between a fair deal and a loss.
| Gold Source | Frequency | Avg. Yield | Beginner Friendly? |
|---|---|---|---|
| Solstice Event | Seasonal | 200-800 | Yes |
| Halloween Event | Annual | 150-600 | Yes |
| Player trades | Ongoing | Variable | No (need rare stock) |
| Exploration chains | Daily | 50-200 | Yes |
If you want the full event calendar and the exact dragons to chase, the Dragon Adventures event guide covers the current Solstice rotation and the best egg-to-dragon conversion rates.
Feeding, Growth Acceleration, and Lair Setup
Feeding is the single most expensive activity in the early game because it consumes coins on a timer, and the lair is the single most underrated system because it multiplies every coin you spend. A well-built starter lair with a few feeder dragons equipped will grow your main dragon roughly 30-50% faster than a solo player running one mount, which compounds into a full extra growth stage over a long session.
Feeding Shortcuts and Hunger Management
The two feeding shortcuts every beginner should know are the E-key wheel and the lair Feed button. The E-key wheel appears when you stand next to your dragon, lets you select the apple icon to feed instantly, and skips the lair menu animation, while the lair Feed button is the safe default for players who forget to monitor hunger. Keeping at least 20 apples in your inventory at all times prevents the "hunger dropped to zero mid-fight" failure mode that ends most early exploration runs.
Building a Starter Lair
Your starter lair should be small, cheap, and optimized for growth rather than cosmetics. Two or three feeder dragons, a few decoration slots that boost growth speed, and a chest for backup apples is the standard kit for week one. Avoid spending on cosmetic lair items until you have at least one Ancient dragon, because every coin spent on a fountain is a coin not spent on an egg that actually progresses your account.
| Lair Priority | Cost Tier | Payoff | Skip If Broke? |
|---|---|---|---|
| Growth boosters | Low | High | No |
| Feeder dragons | Medium | High | No |
| Storage chest | Low | Medium | Optional |
| Cosmetics | High | Low | Yes |
Codes, Daily Habits, and Beginner Pitfalls to Avoid
Codes, daily login bonuses, and consistent small habits are the unglamorous systems that separate week-one veterans from players who quit at day three. Codes in particular rotate fast: GFinity Esports reports that Sonar Studios' weekly release cadence, so a code that worked yesterday may return "Code has expired" today. Bookmarking a code tracker and redeeming during the first login of each session is the easiest way to stack free potions and cosmetics.
Daily Routine Checklist
A consistent 15-minute daily routine outperforms a four-hour weekend binge because hunger timers and event windows do not pause. Mount your dragon, claim the daily reward, redeem any active code, run one egg loop, and top off your apple stash. That single loop resets your growth timers, restocks your coins, and keeps you inside the event window without burning out.
| Time of Day | Action | Why It Matters |
|---|---|---|
| First login | Redeem active code | Codes expire weekly |
| After school/work | One egg loop | Restocks coins |
| Before logout | Feed all dragons | Prevents hunger crash |
| Weekly | Check event calendar | Gold sources rotate |
Common Beginner Mistakes
The most expensive beginner mistakes are spending gold on cosmetics, ignoring hunger, and trading rare eggs for instant coins. Gold spent on a decoration cannot be recovered, hunger below 50% halts growth entirely, and a rare egg sold for 500 coins is often worth 5,000 coins two weeks later once it finishes growing. The cheapest insurance policy is a simple rule: never sell an egg you cannot name from memory, and never spend gold on anything that does not move a dragon to the next growth stage.
Advanced Starter Tips: Codes, Potions, and Event Prep
Once the basics click, the next layer of optimization comes from codes, event potions, and stacking multipliers. According to Game Rant's code list, active codes like JUSTYBLOX, AESUBREALM, FLUFFY, GALIFRAN, and SHAMEWING grant preset potions for visual customization, but the same code infrastructure is how Sonar Studios distributes growth potions during major events. Holding onto those potions for a high-tier dragon is worth more than spending them on a starter.
Potion Stacking and Event Prep
Event potions are the closest thing to a free growth accelerator in the game, and beginners who stockpile them during low-effort events can pop them during the next high-tier egg drop. The tradeoff is storage space, because potions stack in limited inventory slots and a maxed potion bag leaves no room for backup apples. If you want a full breakdown of which potions to keep and which to use immediately, the Dragon Adventures potion guide covers the current 2026 potion meta and which event drops are worth chasing.
Preparing for Seasonal Events
Seasonal events like Halloween, Winter, and Solstice each introduce a small batch of limited dragons, and the players who show up on day one with a stocked apple supply and a free growth slot walk away with the best trades. The standard prep is simple: sell or trade any dragon you do not plan to grow, refill your apple stash to 50+, and empty your potion bag of low-tier drops to make room for the new event's handouts. Community data on the r/DragonAdventures subreddit consistently shows that event launches cause rare-dragon values to swing 20-40% within the first 48 hours, so showing up early matters more than showing up with the best dragon.
Frequently Asked Questions
What is the best starter dragon in Dragon Adventures?
The best starter dragon is whichever common egg matches your farming route, but a balanced Earth-type covers the most ground for new players. Pick whichever dragon you can ride for 20 minutes without dismounting, because staying mounted is the single biggest coin-farm multiplier in week one.
How do I get gold fast as a new player?
Gold comes primarily from seasonal events, so the fastest route is to log in during Solstice, Halloween, and Winter rotations and complete every event quest. Daily exploration chains add a small gold trickle, but events are where the real yield lives for accounts under 30 days old.
Should I sell rare eggs or grow them?
Grow any rare egg you cannot replace in under an hour of farming, because grown rares consistently sell for 5-10x the baby price once they hit Juvenile. Sell only common eggs and starter duplicates, and treat every other egg as a long-term investment.
How often should I feed my dragon?
Feed your dragon whenever hunger drops below 50%, which usually means every 5-15 minutes during active play. The E-key wheel near your dragon or the Feed button inside the lair are the two fastest ways, and keeping at least 20 apples in your inventory prevents emergency hunger crashes.
Where do I find active codes for Dragon Adventures?
Active codes are posted weekly by community outlets like Game Rant and GFinity Esports, and Sonar Studios usually shares new codes on their official social channels. Redeem codes through the in-game settings menu during your first login of each session, because most codes expire within seven days of release.